PELICAN
TM
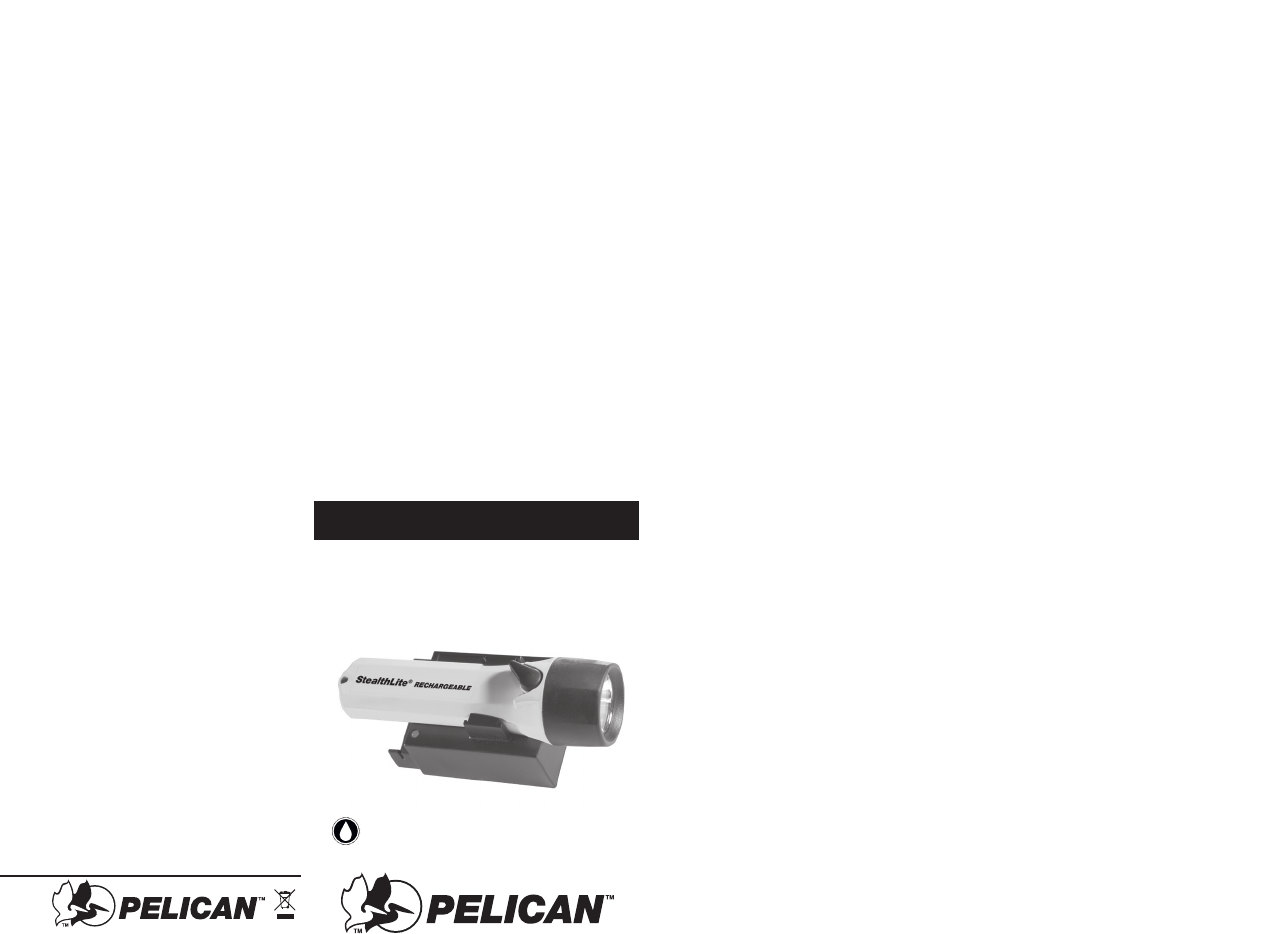
StealthLite
TM
Rechargeable 2450
CAT. #2450
StealthLite
TM
Rechargeable 2450
OPERATING INSTRUCTIONS
CHARGING INSTRUCTIONS
To ensure long term performance charge battery
for 24 hours or more before first use.
CHARGE TIME 3 TO 4 HRS.
1. Push the AC/DC Power Transformer plug into
the Charger Socket (the transformer socket is
located in a pocket in the base). Plug trans-
former into electrical receptacle. The LED
should be SOLID GREEN.
2. Insert the flashlight into charger base until
locked in position. The LED will pulse RED.
3. When the LED changes to SOLID GREEN the
light is fully charged and ready to use.
ON/OFF
Swing the switch lever to the right (light facing
away from you) until light activates. To turn light
off, swing the switch lever to the left (light facing
away from you) until the light goes off.
BATTERY PACK INSTALLATION
1. Remove lens housing by turning
counter-clockwise.
2. Remove the lamp and contact module.
3. Remove used batteries and replace with fresh
batteries as shown on the outside of the
engraved body.
4. Replace the contact module and lamp.
5. Replace lens housing squarely on threads and turn
clockwise while pressing on the lens housing slightly.
ALKALINE BATTERY (OPTION)
Insert 4 AA cell batteries (2 in-line with + end
up and 2 in-line + end down) as indicated on
the outside of the engraved body.
WARNING: Do not charge alkaline batteries.
LAMP REPLACEMENT
To replace the lamp module follow steps in
the battery installation section as listed below:
To remove lamp module follow steps #1 and #2.
To replace lamp module follow steps #4 and #5.
WARNING –
Explosion Hazard - Substitution of components
may impair suitability for use in hazardous
locations
WARNING –
Explosion Hazard - Batteries must only be changed
and/or charged in non-hazardous locations.
CAUTION:
If light is not to be used for some time, remove
batteries to prevent possible leakage and corrosion.
CHARGER BASE
MOUNTING INSTRUCTIONS
The charger base can be permanently mounted
using double sided tape (included) or with two
#8 screws (not included).
VEHICLE INSTALLATION
The charger base can be permanently mounted in
most vehicles and this operation should be performed
by a professional auto technician. When installing the
charger, ensure that the DIRECT WIRING RIG is con-
nected to an ignition key-switch line.The high amper-
age draw of the charger may drain the vehicle’s
battery if connected directly to the battery.
‘
PRODUCT SPECIFICATIONS
Lamp Type: Xenon
Lamp Life: 30 hours
Battery Type: 4.8V NiMH (4-cell)
Battery Brand: Use Pelican Cat. #2469
HYDROGEN GAS ABSORBER
Internal catalyst pellets, located on the lamp, are there
to help absorb hydrogen gas that could possibly be
emitted by defective, leaking, reversed polarity or heavily
discharged batteries. If the pellets become lost or dam-
aged, replace lamp immediately. If pellets become wet,
let them air dry. Pelican Products assumes no liability for
any brand of batteries which are defective or cause injury
to anyone when used in any Pelican flashlight.
REPLACEMENT PARTS
CAT # DESCRIPTION
2401 O-ring
2404 Xenon Lamp
8056 12v Plug In Charger Cord
2467F 110v Transformer
2470F Handy Desk / Dash Smart Charger Base
2469 Replacement NiMH Battery
6061 Direct Wiring Rig
INSTALACION DEL CONJUNTO DE PILAS
1. Retire el bastidor de el lente girándolo en
sentido contrario de las agujas del reloj.
2. Retire el módulo de la bombilla y el contacto.
3. Saque las pilas gastadas y sustitúyalas por pilas
nuevas tal y como se indica en la parte exterior del
cuerpo de la linterna.
4. Vuelva a colocar el módulo de la bombilla y el
contacto.
5. Vuelva a colocar el bastidor de el lente sobre la
rosca y gire en el sentido de las agujas del reloj
al mismo tiempo que ejerce un poco de presión
sobre el mismo.
PILAS ALCALINAS (OPCION)
Inserte 4 pilas alcalinas tipo AA (2 en línea con el
extremo + hacia arriba y dos en línea con el extremo
+ hacia abajo) conforme a la polaridad indica en la
parte exterior del cuerpo de la linterna.
ADVERTENCIA: No recargar las pilas alcalinas.
REEMPLAZO DE LA BOMBILLA
Para cambiar el módulo de la bombilla, siga los
pasos especificados para la instalación de las pilas
que aparecen a continuación:
Para retirar el módulo de la bombilla, siga los
pasos No. 1 y 2. Para cambiar el módulo de la
bombilla, siga los pasos No. 4 y 5.
PRECAUCION:
Si no se va a usar la linterna por algún tiempo,
retire las pilas para evitar la posibilidad que ocurra
una fuga y corrosión.
ADVERTENCIA:
Peligro de explosión - La sustitución de
componentes puede afectar a la idoneidad de su
uso en zonas potencialmente explosivas
ADVERTENCIA:
Peligro de explosión - Las baterías sólo deben
sustituirse o cargarse en zonas no peligrosas
INSTRUCCIONES PARA INSTALAR LA
BASE DEL CARGADOR
La base del cargador se puede instalar permanentemente
usando cinta adhesiva con adhesivo en ambas
superficies (se incluye) o con dos tornillos #8
(no se incluyen).
INSTALACION EN UN VEHICULO
La base del cargador se puede instalar
permanentemente en un vehículo pero esto lo debe
realizar un técnico especializado en automóviles. Cuando
se instale el cargador se debe asegurar que el SISTEMA
DE CABLES ELÉCTRICOS DIRECTOS esté conectado a
un cable de ignición con llave-interruptor. Dado que este
cargador extrae un amperaje alto, podría agotar la
batería del vehículo si se conecta directamente a ésta.
ESPECIFICACIONES DEL PRODUCTO
Tipo de bombilla: Xenón
Duración de la bombilla: 30 horas
Tipo de pila: 4.8V NiMH (4 pilas)
Marca de las pilas: Use Pelican Cat. #2469
StealthLite
TM
Rechargeable 2450
INSTRUCCIONES DE FUNCIONAMIENTO
CAT. #2450
INSTRUCCIONES PARA CARGAR LAS PILAS
Para asegurar el rendimiento a largo plazo de las
pilas, cárguelas durante 24 horas o más antes de
usarlas por primera vez.
Tiempo de carga - 3 a 4 horas
1. Inserte el enchufe del transformador de CA/CC en
el encastre del cargador (el encastre del
transformador se encuentra en un compartimiento
de la base). Enchufe el transformador en el
receptáculo eléctrico. El indicador LED debe
mostrar una luz VERDE CONSTANTE.
2. Coloque la linterna en la base del cargador hasta
que quede fija. El indicador LED debe mostrar una
luz ROJA INTERMITENTE.
3. Cuando el indicador cambia a una luz VERDE
CONSTANTE quiere decir que la linterna está
completamente cargada y lista para usarse.
ENCENDIDO / APAGADO
Para encender la linterna (con el extremo de la
bombilla apuntando en la dirección opuesta a usted),
gire la palanca del interruptor hacia la derecha hasta
que se encienda. Para apagarla, gire la palanca del
interruptor hacia la izquierda (con el extremo de la
bombilla apuntando en la dirección opuesta a usted),
hasta que se apague
23215 Early Ave. • Torrance, CA 90505
(310) 326-4700 • FAX (310) 326-3311 • www.pelican.com
All trademarks and logos displayed herein are registered and
unregistered trademarks of Pelican Products, Inc. and others.
2453-313-002 5-0784 REV A © 2010 Pelican Products NO/10
23215 Early Ave. • Torrance, CA 90505
(310) 326-4700 • FAX (310) 326-3311 • www.pelican.com
U.S. Patent
#5,404,281
PELICAN LEGENDARY FULL LIFETIME GUARANTEE OF EXCELLENCE
Pelican Products, Inc. guarantees its lights for a lifetime against breakage or
defects in workmanship. This guarantee does not cover the lamp or batteries
(rechargeable or alkaline).
Pelican will either repair or replace any defective product, at our sole
option. THE REMEDIES HEREBY PROVIDED SHALL BE THE EXCLUSIVE
AND SOLE REMEDY OF THE PURCHASER.
TO THE EXTENT PERMITTED BY LAW, IN NO EVENT SHALL PELICAN BE
LIABLE FOR ANY INDIRECT, PUNITIVE, INCIDENTAL OR CONSEQUENTIAL
DAMAGES, OR SPECIAL DAMAGES, REGARDLESS OF WHETHER A CLAIM
FOR SUCH DAMAGES IS BASED ON WARRANTY, CONTRACT, NEGLIGENCE
OR OTHERWISE. In no event shall Pelican’s liability to the purchaser for
damages hereunder exceed the purchase price of the product in respect of which
damages are claimed. To make a warranty claim, the purchaser must contact
Pelican Products, Inc. at 23215 Early Avenue,Torrance, CA 90505 or sales@
pelican.com. Any warranty claims shall be made by the purchaser as soon as
practicable. The purchaser must obtain a return authorization number from
Pelican Customer Service prior to returning any product. In the event that Pelican
determines that any returned product is not defective, within the terms of this
warranty, the purchaser shall pay Pelican all costs of handling, transportation and
repairs at Pelican’s prevailing rates.
All warranty claims of any nature are barred if the flashlight has been altered, damaged
or in any way physically changed, or subjected to abuse, misuse, negligence or accident.
Some states do not allow the exclusion or limitation of incidental or consequential
damages, so the above limitation or exclusion may not apply to you. This warranty
gives you specific legal rights, and you may have other rights which vary from state
to state. Lifetime Guarantee does not cover Roto Molded or AALG products.
Refer to www.pelican.com/warranty for full details.
SUBMERSIBLE


 (2 pages)
 Manymanuals.com
 Manymanuals.de
 Manymanuals.fr
 Manymanuals.it
 Manymanuals.pl
 Manymanuals.cz
 Manymanuals.es
 Manymanuals-pt.com
Comments to this Manuals